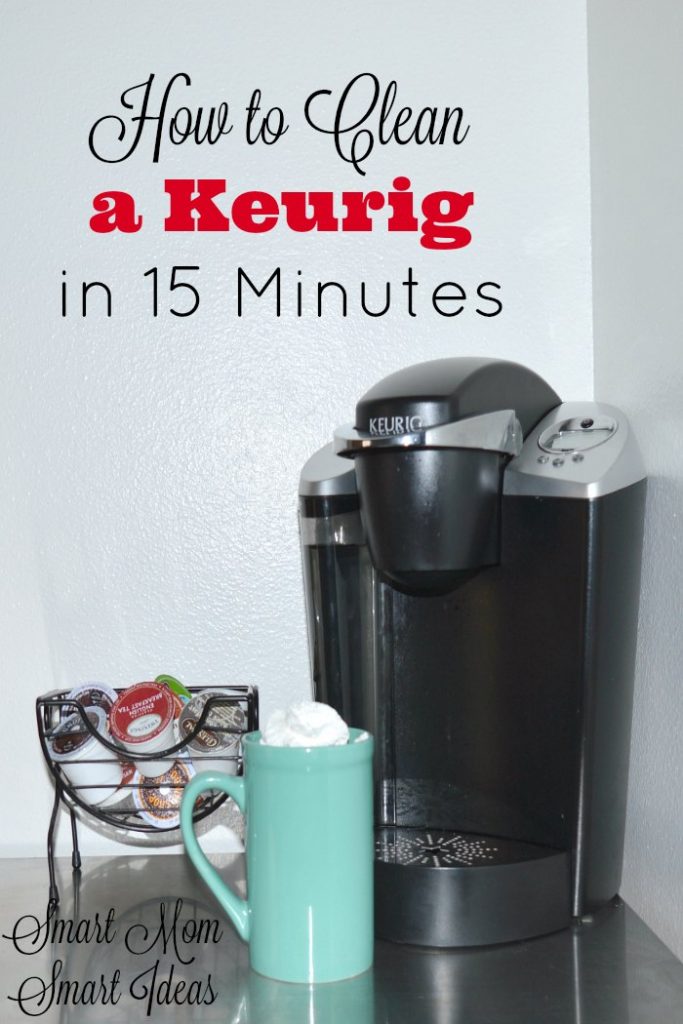
Fresh-brewed coffee, what a wonderful aroma to smell when you wake up each morning! What a disappointment when you go to your Keurig machine to make a cup of your favorite coffee and get nothing but a few drops of coffee. You think your Keurig is broken, but wait maybe it’s not broken. This quick 15-minute process to clean a Keurig with vinegar might make all the difference in how your Keurig performs.
Before you toss your Keurig, try doing a complete Keurig cleaning with vinegar and water and be sure to follow the steps for how to clean a Keurig needle to get your coffee flowing again.
I enjoy a cup of coffee every morning. Flavored coffees are my favorite. I also like to add creamer and whipped cream on top to make it extra fancy (it’s like having my favorite Starbucks coffee at home). My Keurig is the perfect machine to make “my cup” of coffee every morning.
A few months ago, my Keurig started making some loud and strange sounds. Then, each time I used it, the cups of coffee would get smaller and smaller until one morning only a few drops came out (I’m not kidding – it was a few drops). I thought my Keurig had broke, but before I tossed it, I decided to try a thorough Keurig cleaning. What success I had, now it works like new again.
Here are my 5 simple and easy steps showing how to clean a Keurig. You just need a few everyday items you already have at home and it can be done in 15 minutes. You will be surprised how easy cleaning a Keurig is and you will be able to enjoy your favorite Keurig coffee again fast.
Note: This post includes affiliate links. Read my disclosure policy here.
Step-by-Step Instructions for Keurig Cleaning
- Start by taking the Keurig coffee maker apart
- Wash all the removable parts
- Clean the needle
- Loosen internal debris
- Run a complete cycle with a white vinegar & water mixture
Before you start, gather the few cleaning items you will need. You will need the following tools:
- a paperclip
- white vinegar
- paper towels
- a coffee cup
1. Start by Taking Your Keurig Apart
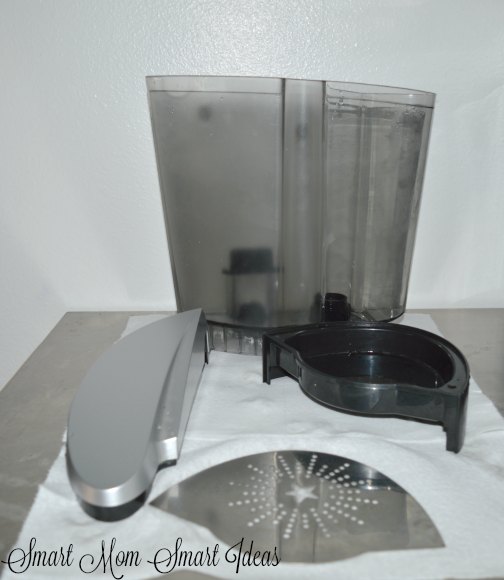
The first thing you should do is unplug the Keurig machine (you want to be absolutely safe). Next, you will need to remove the water compartment and drip pan. If your machine has any other removable parts, take those parts off on during this step too.
Picked for you: How to Keep Your Home Clean in 10 Minutes a Day
2. Wash All the Removable Parts
Wash the water compartment, drip pan and any other pieces with warm soapy water (you will want to minimize soap inside the water compartment). You want to be sure each piece is cleaned. Be sure to remove any build-up you see on these parts (be careful some of these parts are delicate).
If you use the re-usable pod (the pod where you add your own coffee), be sure to clean this pod and filter. I noticed the filter seems to get clogged if you don’t clean it carefully with warm water.
3. Clean the Needle
For this step, you will need to get a paperclip. Bend the paperclip so it looks like an “S”. Then bend one of the ends so it is straight (see the picture below).
Next, you will take the straightened end of the paperclip and poke it into the needle of your Keurig. Gently poke the tip of the paper clip into the needle to loosen all the build-up debris. I laid my Keurig on its side so I could easily access the needle (picture below).
4. Loosen internal debris
Since you cannot reach the inside part of your Keurig to loosen the build-up inside, pick-up your Keurig and tip it upside (be sure you have all the removable parts set to the side). Then give the Keurig a few pats on the bottom. I know this step sounds a little on the silly side, but it seems to work.
Now, set the Keurig back on your counter and put it all back together.
Recommended for you: Plan Your Meals Like a Pro {plus a Free Meal Planning Printable}
5. Run a Full Cycle of Water & Vinegar To Complete the Cleaning
The last step to clean a Keurig is to fill the water holder with half water and half white vinegar. Then run cups of hot water and vinegar through your Keurig until you completely empty the water holder. Because I wanted to be sure I rinsed all the vinegar and water before I made any coffee, I also filled the water holder again with just water and ran all the water through the system too.
After completing these 5 steps, your Keurig should be cleaned and ready to make perfect coffee again. This complete process should take about 15 minutes from start to finish. To keep your Keurig in optimal condition, it’s best to repeat this process every 2-3 months or if you hear any strange noises when the water is processing.
If you prefer, you can also purchase a cleaning and descaling kit.
Cleaning your Keurig is easy and quick and can be done in just 15 minutes! You will be enjoying your morning coffee again.
Ready for more easy home cleaning tasks you can do in 10-minutes? Get the 10-Minute Cleaning Cheat Sheet – it has 15 home cleaning tasks you can do in 15 minutes. Save a copy and put on your refrigerator. When you have 10 times do one or two of these easy clean-ups.
Your turn…
Has your Keurig made “funny” noise recently or just not making great cups of coffee? What tips do you have to keep your Keurig working great?


does my Keurig need to be descaled occasionally or is the cleaning with vinegar all it needs
I have the single-serve Keurig. Will that cleaning method work on it?
So I cleaned my pot according to your instructions. Ran vinegar & water thru. Then turned it upside down to clear gunk. When I plugged it back in it started smoking & won’t turn on. WTH
I didn’t know that keurigs take 15 minutes to clean. I always have trouble getting the smell out. Maybe using vinegar as you said will help remove some of the residue.
So glad i found this!! my Keurig doesn’t give me anything anymore!! Maybe half a cup but usually less than that. ill be trying this today in hopes it works! 🙂
Hi Emily, my Keurig was doing the same thing. Once I cleaned it, I was getting wonderful coffee again. So glad it helped you!
We gave our Keurig machine to my mother-in-law. I’m glad that I can share this with her so she can learn how to do it easily. I love how simple you made it look.
Hi Crystal, It’s amazing how easy it can be to clean your Keurig and keep it working well.
I don’t have a Keurig, but it is great information that I can share with some friends I know have one! Great post!
Joyful Savings recently posted: Clean Your Microwave in 1,2,3—It’s Like Magic!
My Keurig got to the point where even a good cleaning wouldn’t help it. 🙁 They really need to make the inside more accessible! I know a lot of people are shocked that you should even be doing regular cleaning maintenance on theirs!
This makes it look so easy! We used to have these at work and they all needed this! I would have done it myself if I knew it was this simple.
Thank you for posting this! We love Kerrigan coffeemakers, but have gone thru 3 of them, for this very reason! We tried just the vinegar cleaning, but it didn’t work; so we threw the machines out. I’m going to print this post for future reference!!
Hi Christi, so glad the post was helpful to you. I was really surprised by the difference the 15-minute cleaning made on my Keurig machine’s performance.